How to connect keyboards and MIDI controllers to computers in the music classroom
One of the most common frustrations in music technology classrooms is the gap between having equipment and actually using it. Keyboards, MIDI controllers, and audio interfaces sit in storerooms around the world, often because no one is quite sure how to connect them — or because the last person who knew has moved schools. This guide covers everything you need to get keyboards and MIDI devices talking to computers in a classroom setting, without needing an IT technician on call.
Understanding MIDI: what it is and what it isn't
Before connecting anything, it helps to understand what MIDI actually is. MIDI (Musical Instrument Digital Interface) is not audio. It doesn't transmit sound. It transmits data — specifically, information about what notes are played, how hard, for how long, and on which channel. The computer receives that data and uses a software instrument (called a plugin or VST [Virtual Studio Technology) to turn it into actual sound.
This matters practically because it means connecting a MIDI keyboard to a computer doesn't automatically produce sound. You need: -
- the keyboard connected
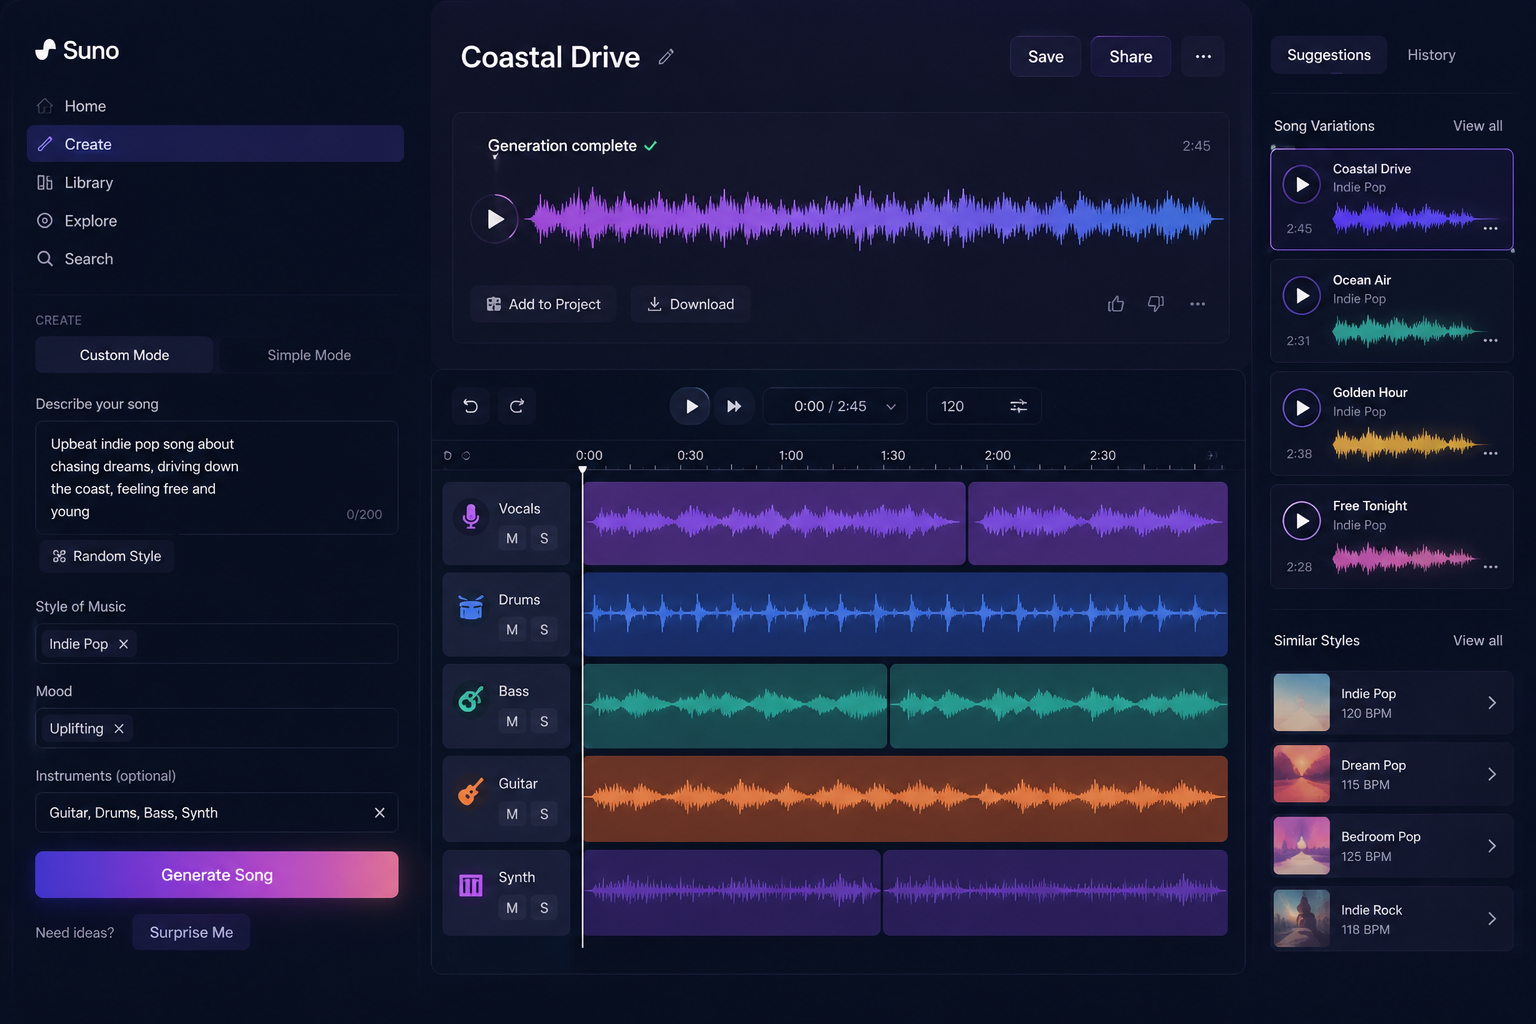
- a DAW (Digital Audio Workstation) open
- a software instrument loaded
- the correct input selected
So when students say 'my keyboard isn't working', they usually mean one of those four things is missing.
The three main connection types
Most keyboards and MIDI controllers in school settings connect via one of three methods:
1️⃣ USB-MIDI (most common): The majority of modern keyboards and controllers connect directly via USB. One end goes into the keyboard or controller, the other into the computer. No additional hardware required. The computer recognises the device as a MIDI input automatically on most systems. This is the standard for classroom setups — look for keyboards labelled 'USB-MIDI' or controllers like Arturia KeyStep, Akai MPK Mini, or Roland GO:KEYS.
2️⃣ 5-pin DIN MIDI (legacy instruments): Older keyboards use the traditional 5-pin DIN connector. To connect these to a modern computer, you need a USB-MIDI interface — a small adapter that converts 5-pin MIDI to USB. The Roland UM-ONE or M-Audio Uno are reliable options at around $50–80 AUD and will work with virtually any legacy instrument.
3️⃣ Audio interface with MIDI I/O: Some audio interfaces (Focusrite Scarlett, PreSonus AudioBox) include 5-pin MIDI ports alongside their audio connections. If your classroom already has audio interfaces for recording, check whether they include MIDI — you may already have what you need for legacy instruments.
Step-by-step: setting up a USB-MIDI keyboard
For the most common classroom scenario — a USB-MIDI keyboard and a laptop running a DAW:
- Step 1: Connect the keyboard to the computer via USB. Most keyboards are class-compliant, meaning they require no driver installation — the computer recognises them immediately. If yours requires a driver, it should come with a download link in the box or, on the manufacturer's website.
- Step 2: Open your DAW (GarageBand, Soundtrap, Bandlab or any other). On Mac, open GarageBand and create a new project — if the keyboard is connected, you should see the MIDI activity indicator respond when you press keys (on your musical keyboard!). On Windows, open your DAW's preferences and check the MIDI inputs list to confirm the keyboard appears.
- Step 3: Load a software instrument. In GarageBand, click the '+' to add a new track, select 'Software Instrument', and choose any preset. You should now hear the keyboard through the computer's speakers or connected headphones.
- Step 4: Check your audio output. If MIDI is working but you hear nothing, the issue is usually the audio output setting. Go to your DAW's preferences and confirm the output is set to your speakers, headphones, or audio interface — not 'no output'.
Common problems and how to fix them
A reference for the issues that come up most often in classroom settings:
⚠️ The keyboard connects but makes no sound —
Check that a software instrument is loaded and the correct MIDI channel is selected. Most keyboards default to channel 1; most DAWs default to receiving on all channels ('Any'), so this usually isn't the issue — but worth checking if nothing else works.
⚠️ The keyboard works in the DAW but plays the wrong sound —
The software instrument loaded determines the sound. If a student presses C and gets a saxophone, they've loaded a saxophone preset. Show them how to change the instrument.
⚠️ Notes stick or sustain (play forever without stopping)—
This is a MIDI 'note-off' message issue, often caused by a connection interruption while a note is playing. In most DAWs, pressing Spacebar (stop) or using a 'panic' function (usually in the MIDI menu) will clear all stuck notes.
⚠️ The keyboard isn't recognised at all on Windows —
Some older keyboards need a driver. Download it from the manufacturer's website. Also check Device Manager to see whether the keyboard appears — if it shows with a warning icon, the driver is missing or incorrect.
⚠️ Latency (the sound is delayed after pressing a key)—
Latency is the most common frustration in classroom audio setups. The primary fix is to install and use an audio interface (even a basic Focusrite Scarlett Solo), which bypasses the computer's built-in audio and dramatically reduces latency. On Windows, install and enable ASIO drivers (ASIO4ALL is free). On Mac, the built-in Core Audio system is generally low-latency enough for classroom use.
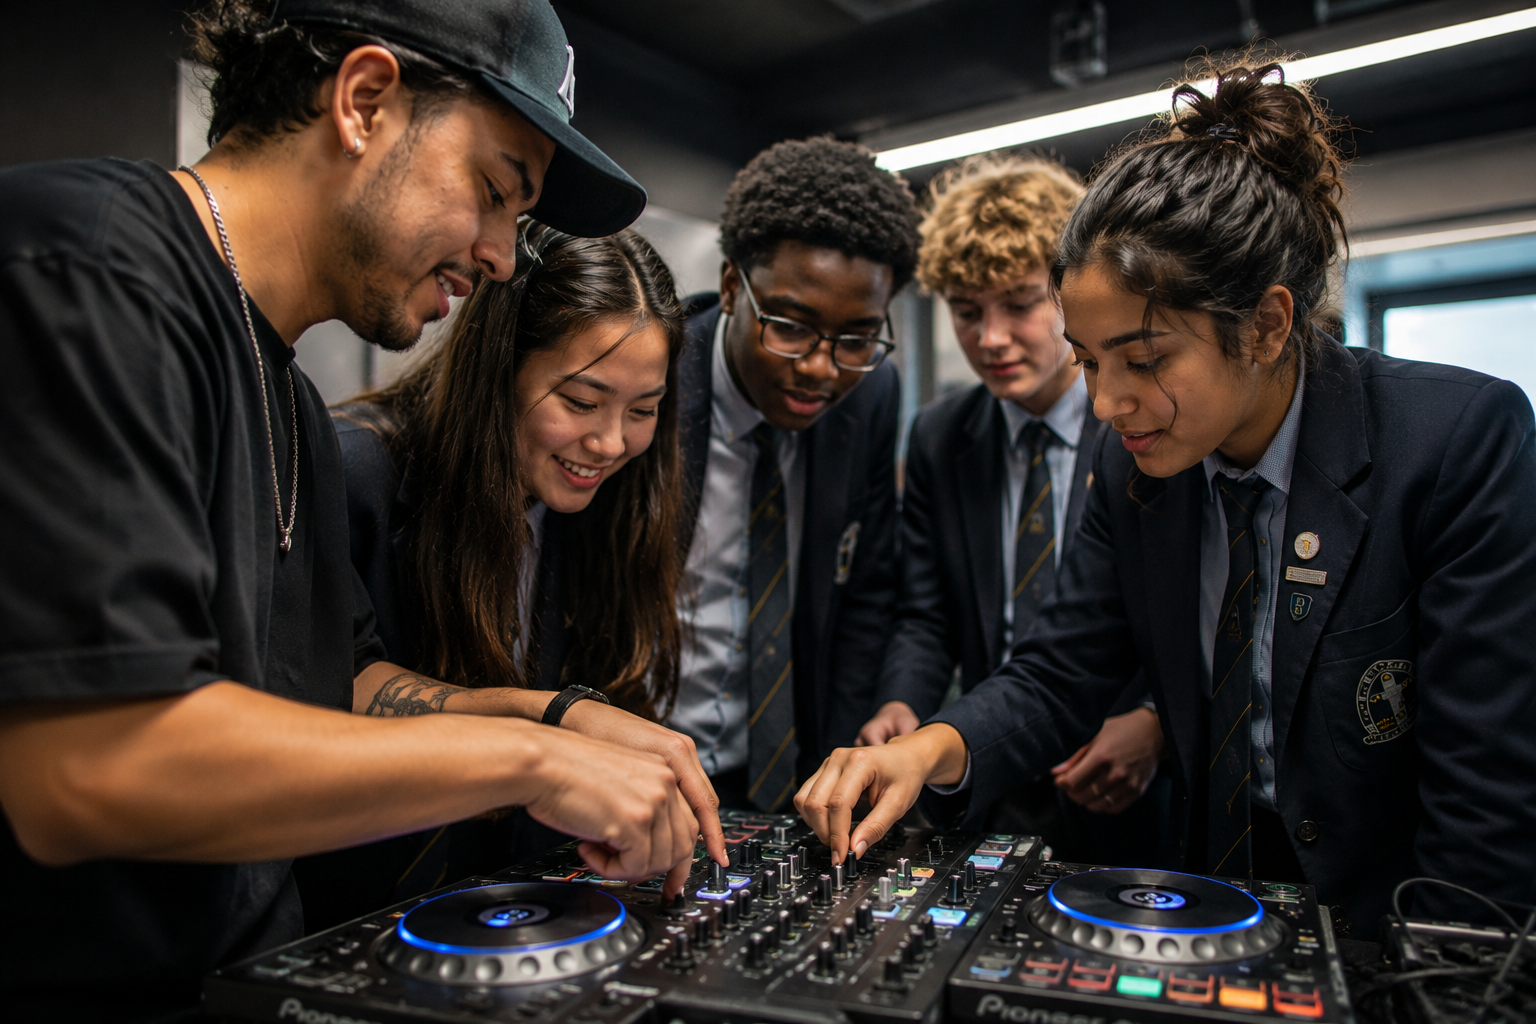
Setting up a classroom of multiple workstations
For a keyboard lab or music technology lab with multiple student workstations, the most practical and cost-effective approach is to have one USB-MIDI keyboard per station connected directly to the student computer, with headphones for audio monitoring. This avoids the complexity of shared audio routing and lets students work independently at their own pace.
If budget allows, adding a basic audio interface at each station (Focusrite Scarlett Solo or similar, around $120–150 AUD) significantly improves audio quality and latency. This becomes particularly important when students are recording live instruments or microphones alongside MIDI.
For a central teacher demonstration setup, consider connecting the teacher computer to a classroom speaker system via an audio interface, with a MIDI keyboard for live demonstration. Being able to show students exactly what you're describing — rather than just talking through it — reduces confusion significantly during setup instructions.
Like what you read?
You should see our curriculum.
It takes less than a minute to sign up for a Free Trial of The MusicEDU Suite. Your students will thank you for it.